Wednesday, June 24, 2015

Home Improvements don't come easy...

The process is long but the final outcome is so worth it. The planning of our backyard remodel began over a year ago. An unexpected setback when our loving yet goofy dog ate a rock that almost took him from us. This spring began the quote process. Not many companies sign up to do concrete jobs less than 500 sq feet. With all the trials and weather mishaps our patio is perfect and ready for entertaining. Phase 2 is the new privacy fence and then gardens and grass move into phase 3!


Final photos!


Sunday, June 7, 2015

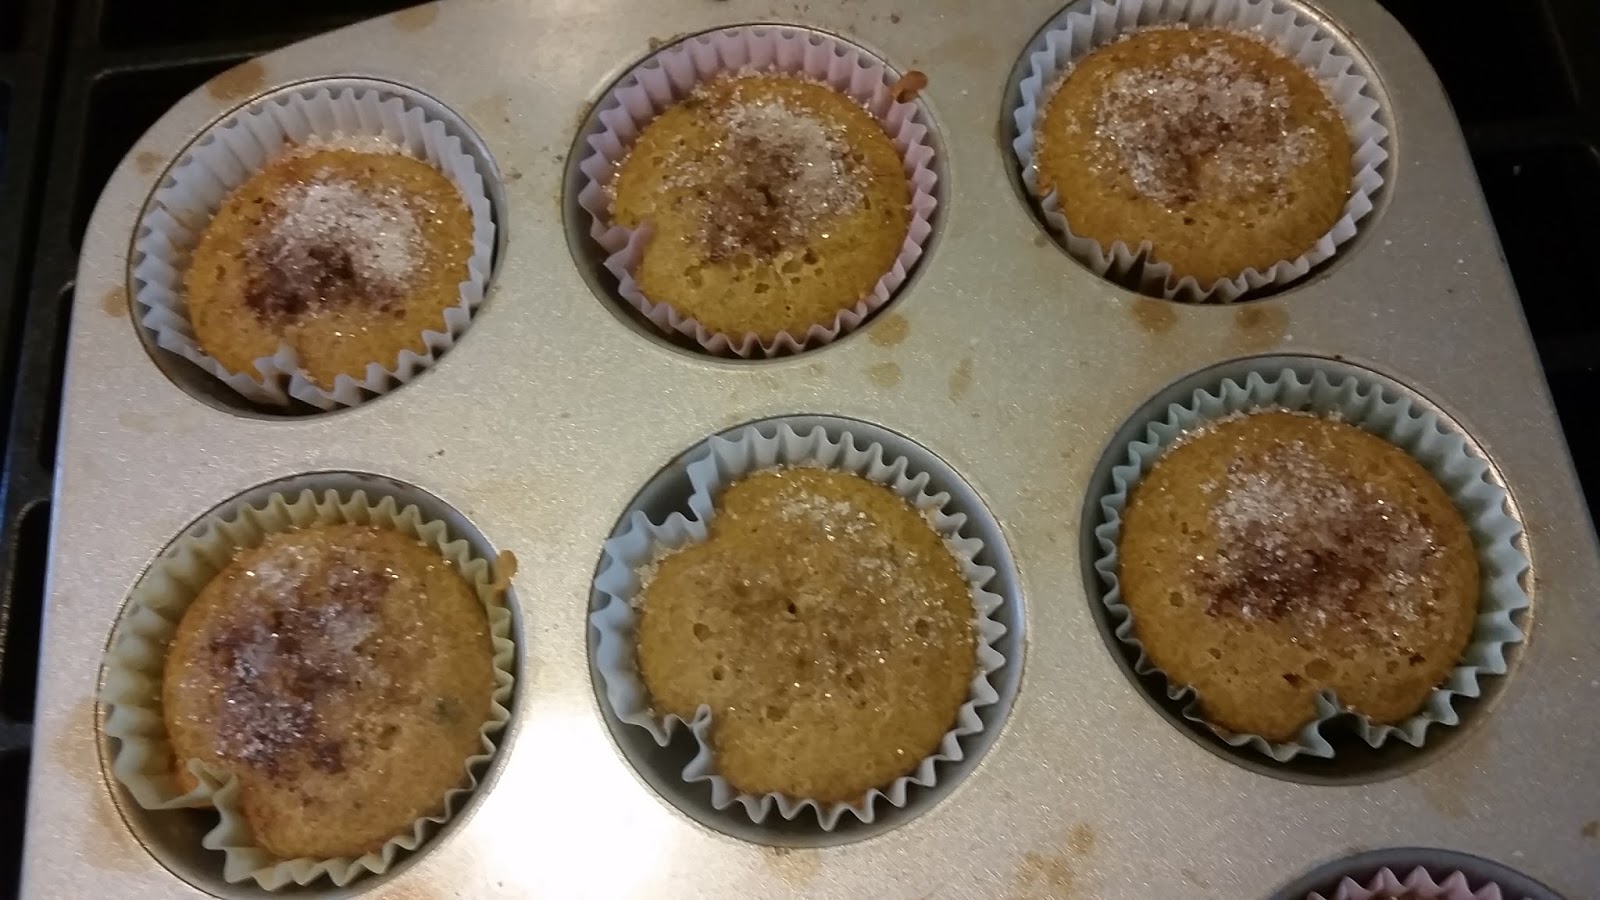
My morning consisted of making some gluten free treats for my boys and I. Unfortunately my husband doesn't share in our delight of all things pumpkin! These little things delighted my gluten free taste buds and by making a double batch (1 can if pumpkin is 1.5 cups of pumpkin) gave me enough to do both the pancakes and inspired me to come up with the converted muffin recipe. I added just a little more sweetness to makeup for the lack of syrup that is present in the pancake waffle variety. Next time I might try making a banana compote to add to the top rather than maple syrup. Pumpkin and bananas! Yum! I hope you enjoy as much as we did. We will be freezing our extras for a quick toaster pancake on busy mornings!

Gluten Free Pumpkin Pancakes or waffles:

3/4 cup canned pumpkin puree (or fresh by cooking and puree just make sure to drain any liquid)
2 eggs
2 TBSP maple syrup
1 TBSP melted coconut oil
1 tsp vanilla extract
1 cup coconut milk or cashew milk (I use vanilla flavor)
1/2 tsp baking soda
2 tsp baking powder
1 tsp all spice
1 tsp cinnamon
1.5 cups gluten free flour (ready made or make your own)

Combine all wet ingredients and mix well. Add dry ingredients one at a time mixing well in between. Add flour last. Makes pancakes or waffles. We don't have a gluten free waffle iron so we do pancakes.

To make muffins:

Make batter as above add the following:

1 extra TBSP melted coconut oil
1 extra tsp baking powder
2 TBSP honey

On top for garnish:
cinnamon to taste
sugar to taste

Once batter is complete pour into muffin cups. Bake at 375 F for 5 mins remove briefly from oven and sprinkle generously with cinnamon and sugar mixture. Bake an additional 5 to 7 mins until toothpick comes out clean.


Note: I filled my muffin cups about halfway...if you add more you will get fuller muffins!

Friday, May 8, 2015

homemade handsoap


In order to simplify our lives and reduce exposure to chemicals I've begun making many of my own cleaning and skin care products. In the next step of my families journey, liquid handsoap is the next to go. I also love that I can choose organic ingredients to make this even more healthy for my family!

In an 8 oz foaming soap dispenser mix 2-3 tablespoons of Dr. Bronner's (or preferred) liquid castile soap, 1 tsp vegetable glycerine, 5 drops of Thieves / On Guard essential or other anaseptic property essential oil (lemon, Melaleuca) and then fill with water.

*You can reuse soap containers to be even more thrifty!

Monday, April 6, 2015

Flu Blend with essential oils

Flu Blend ~ 0.35% dilution

4 oz coconut oil (or carrier oil)
2 drops OnGuard or YL equivalent
2 drops Oregano
2 drops lemon
1 drop Melaleuca
1 drop Frakencense
1 drop peppermint
1 drop Majoram

I Whipped refined coconut oil with fork and added oils.

Rub on chest, back and bottoms of feet (cover with socks).


Making your own washing soda

Making your own homemade laundry soap is easy and super inexpensive. There are basically three ingredients:
  1. Soap
  2. Borax
  3. Washing Soda
I find the borax (generally 20 Mule Team brand) and the washing soda (generally Arm & Hammer brand) in my local grocery store, but some people have reported having trouble finding washing soda (sodium carbonate) in their city. You can leave it out of the recipe, but it really does help boost the cleaning powder of the soap.

Good news! There is a way to make your own washing soda out of regular baking soda (sodium bicarbonate).
Difficulty: Easy
Time Required: 1-2 hours
Here's How:
  1. Preheat your oven to approximately 390° - 400° Fahrenheit. (200° C)
  2. Pour a box (or a few cups) of baking soda (not baking powder) onto a baking sheet, and put it in the oven.
  3. Bake the baking soda from 30-60 minutes. I've seen reports of people baking it as little as 30 minutes - and people baking it as long as 2 hours. It doesn't appear that over-baking it is a problem...so I'd recommend 45-60 minutes just to assure that the chemical reaction is completely complete.
  4. After pulling the baking sheet out of the oven and letting it cool, store the washing soda in a clearly labeled airtight container. The washing soda can "convert" back into baking soda if it's exposed to air.
  5. Use your washing soda in your homemade laundry soap!
  6. Baking soda with wooden spoon. - skhoward/E+/Getty Images

Homemade Dishwasher Soap

Lemon essential oil: antibacterial, for scent
The recipe should give you enough to make 2 ice cube trays worth of dishwasher detergent tabs. They should last 28-56 loads depending on the load size (you can cut them in half).

When you mix the vinegar in, the mixture should start to clump up on its own
Ingredients:

2 cups washing soda
1 cup baking soda
1 cup citric acid
1/2 cup kosher salt
1/2 cup plus 2 tablespoons white distilled vinegar
1 teaspoon castile soap
15-20 drops lemon essential oil
Directions:

mix all the dry ingredients together in a large bowl
gradually add vinegar a little bit at a time and mix well (some fizzing will occur and the mixture will start to clump) You may not need the entire amount of vinegar, so add it a little at a time.
mix in castile soap and lemon essential oil
pack well into two ice cube trays (take your time doing this and make sure they are well compacted)
set ice cube trays out to dry for at least 24 hours in a sunny spot
take tabs out of trays and store in a tight-lidded container

Leave the dishwasher detergent tabs out to dry in a dry sunny spot for at least 24 hours
When you take the dishwasher detergent tabs out of the ice cube trays, they will be a little crumbly. You can just collect and keep the extra crumbs and combine them to use in a small dish cycle.

The tabs are pretty big so you may not need to use the entire tab for each cycle. They are really easy to cut into smaller segments to make them the appropriate size for your load.

I did the calculations and these babies only cost you 9 cents a load. That’s pretty impressive. I used to use the Seventh Generation dishwasher tabs and those cost 40 cents a load, so it’s definitely saving money!
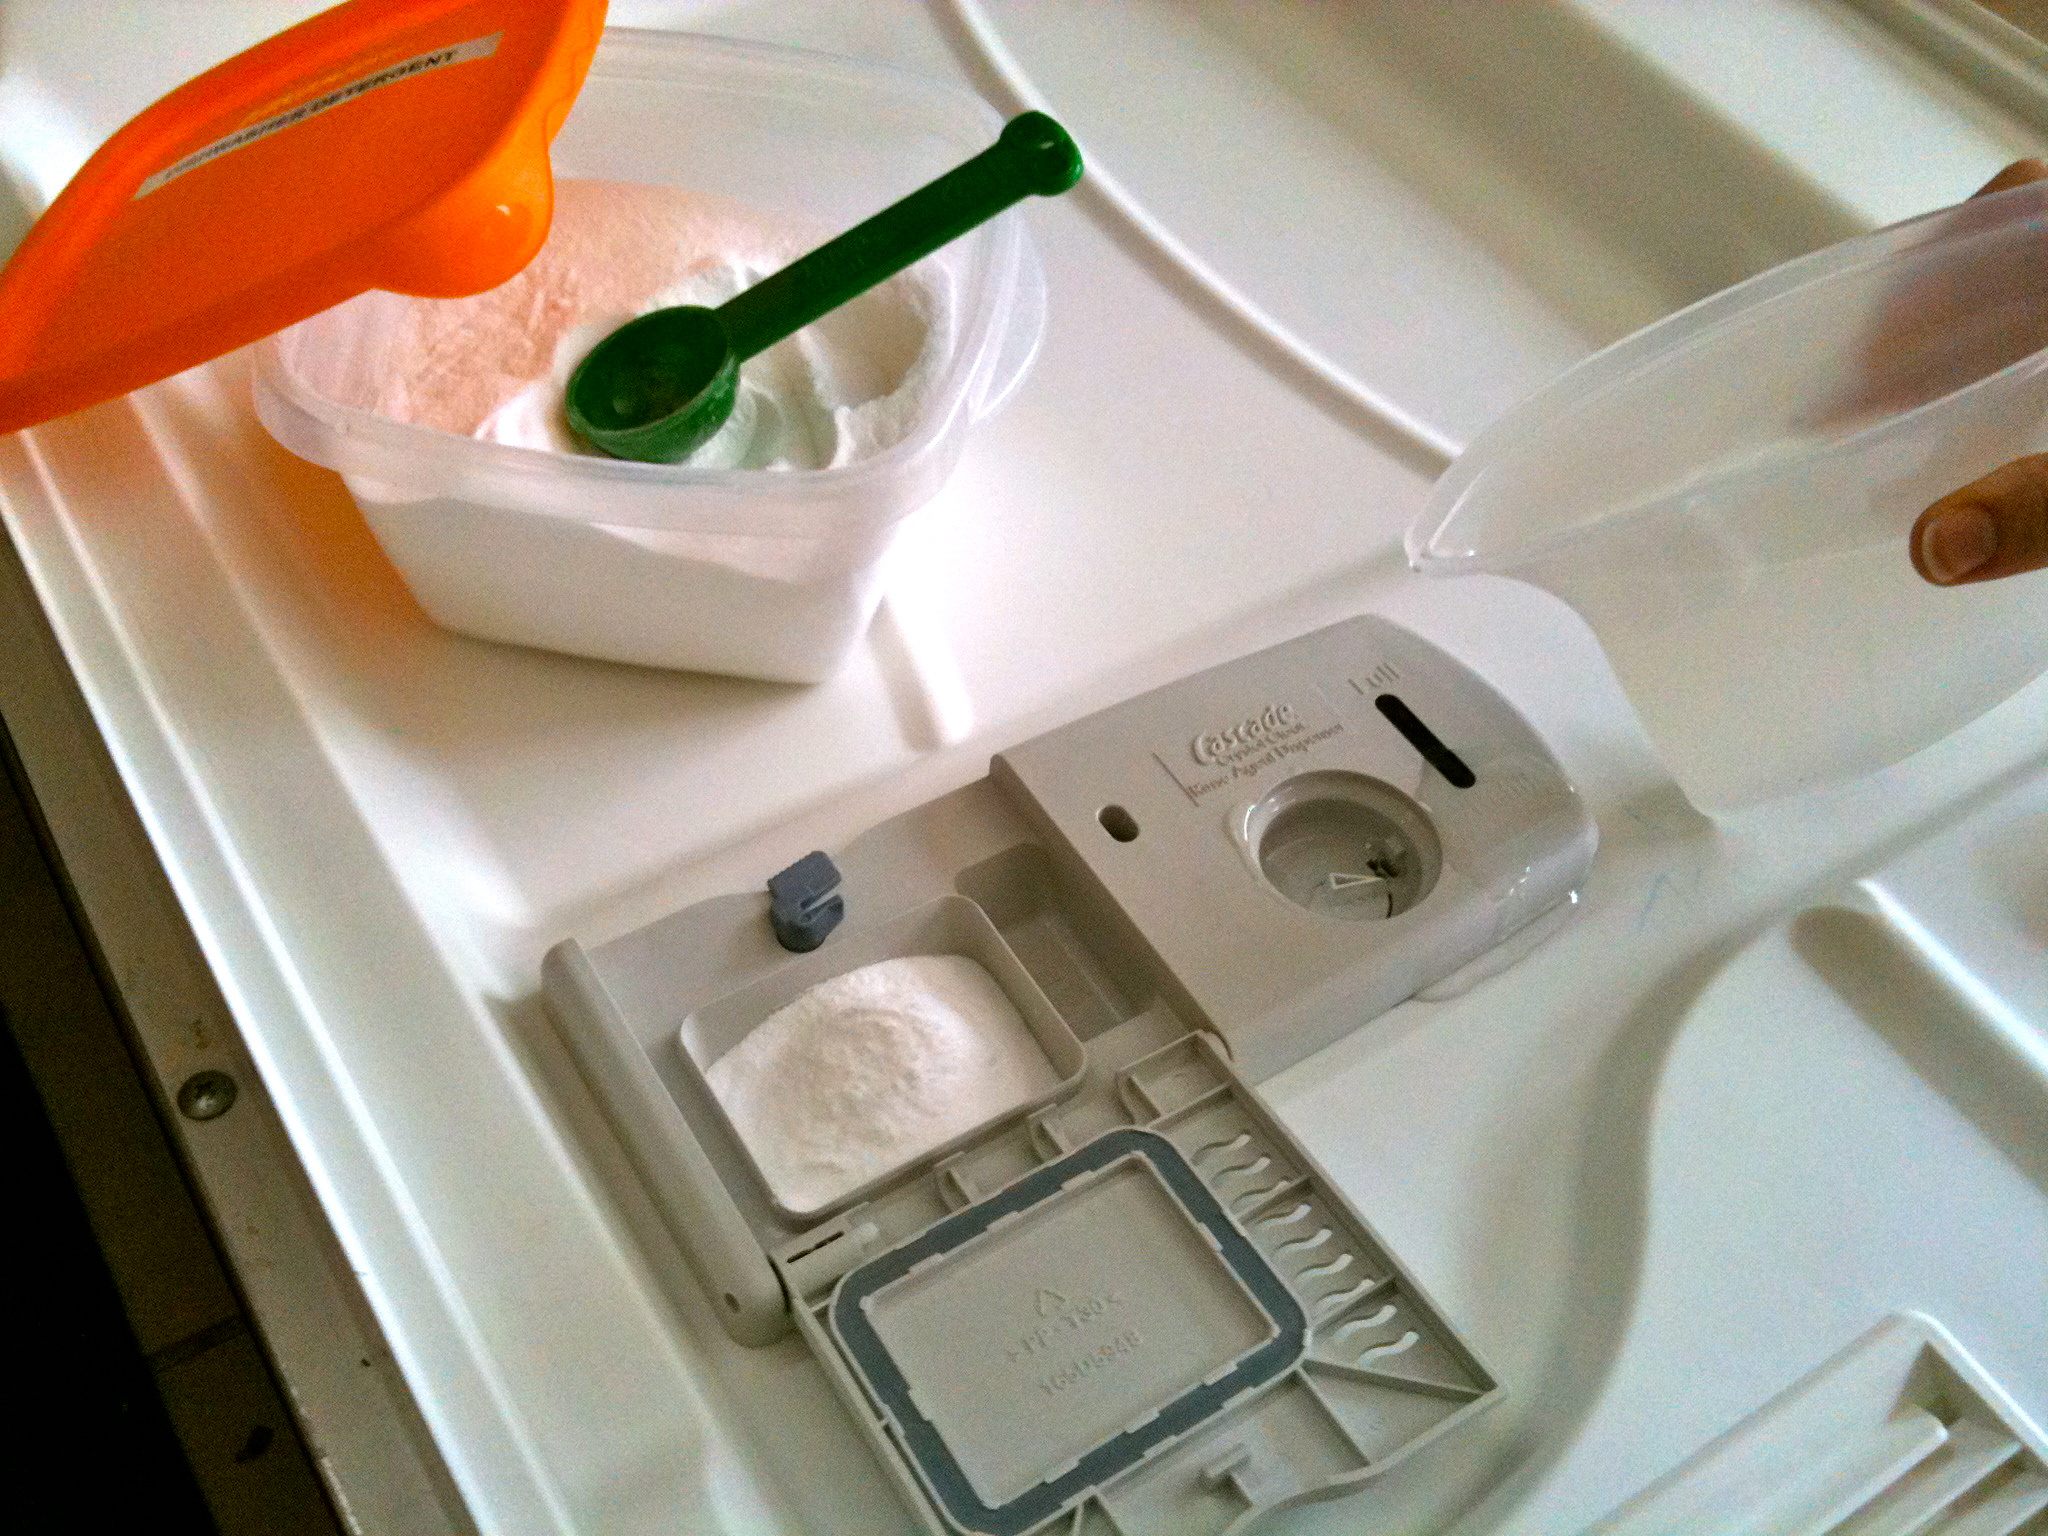
Do you have a homemade recipe for dishwasher detergent? I would love ...

Wednesday, October 15, 2014

so life is busy

So a lot has happened in the last month...so much that I haven't had the chance to continue my trials as a blogger. My family of 4 is an active one...so to stay busy we decided to take on a fifth member not including our two dogs and our cat who thinks he's a dog. Enter our foreign exchange student from Germany.  We are now entering our 7th week with Timm and things are going great! We've had a number of adventures so far...hopefully things continue to go well!